Introducing heatmaps, raster tiles and popup panels to our 3D Map template
Our powerful 3D Map template now allows you to transform your points data into animated heatmaps
It was already jam-packed with features, but we just can’t help adding more: our 3D Map template recently received some powerful updates. In addition to animating points, extruding regions and creating stunning zoom-and-pan map stories with our high-performance WebGL template, you can also now use a wider range of base maps thanks to raster tile support, transform your points data into animated heatmaps, and use your map as an entry point to rich data through panels.
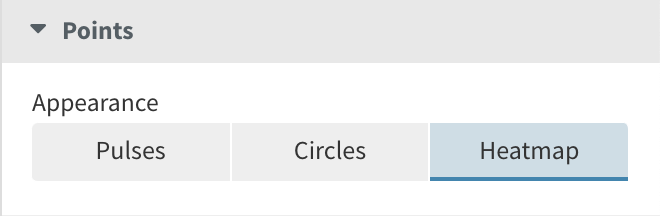
1. Heatmaps
Our new heatmap mode allows you to visualize the density of points, making it ideal to identify or showcase trends and hotspots in locations data. You can optionally size the points in your heatmap by a column in your data (to give points different weightings), and choose from a number of coloring options and other settings.
To create a heatmap like this:
- Upload data containing latitudes and longitudes to the Points sheet of the 3D Map template.
- In the Points settings, select Heatmap.
- Make sure you have a column bound to the Color binding in order to make use of the full range of color settings.
- If you’d like to animate your heatmap over time, make sure you bind a Start time column binding. Learn more about creating animated 3D Maps in our help doc.
- Learn more about creating heatmaps in our help doc.
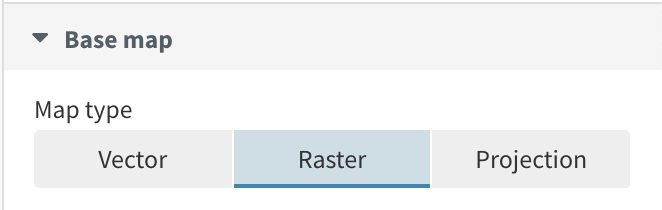
2. Raster tiles
Until now, we’ve offered a variety of different vector map styles to choose from in our 3D Map template, as well as the option to display your regions without a base map. Now, we’re adding a third option: raster tiles.
Raster tiles are essentially a set of images that get stitched together in order to draw a map, usually with different levels of detail at different zoom levels.
Unlike vector tiles, raster tiles aren’t customizable, so you can’t disable layers or change styles of specific features such as roads or water. But many rich raster tiles exist, covering everything from satellite imagery to old-fashioned printed map styles.
If you have access to a raster tile set you can now use it in Flourish. We’ve also included one tile set in the template to get you started. This is taken from Kiln’s Ship Map and was created by combining data for land shapes, bathymetry (water depth) and major rivers.
Although it’s not usually a practical problem, it’s good to keep in mind that raster tiles usually don’t load as quickly as vector tiles. You can learn more about the differences here.
To get started with raster tiles:
- Find Raster tiles that you would like to use in your map. Here is a list of public raster tiles servers.
- Create a new visualization with the 3D Map or Marker Map template and select Raster under Base map.
- Supply your raster tiles in this format:
https://data.kiln.it/shipmap/tiles/{z}/{x}/{y}.png. Learn more about adding your own raster tiles in our help doc.
3. Popups and panels
Like in many other Flourish templates, we’ve added popup panels functionality to our 3D Map template. This new mode is especially useful when you have a lot of additional data, text or images that you’d like to incorporate into your visual, allowing you to tell richer data stories.
To get started with popup panels:
- In the popups settings, select Panel.
- Configure the layout via the available settings.
- Customize your panels further with custom HTML or by embedding other Flourish visuals within them.
More new features!

- We’ve added a new column binding for point labels, along with label-specific settings such as alignment. Here’s an example of this feature in use our daily COVID-19 graphics.
- It’s now possible to display a legend for your shaded regions. Learn more about legends in our help doc.
- You can now choose from three animation styles (none, fade and grow) in addition to defining the speed or duration.
So whether it’s 3D-extruded regions, animated points or density heatmaps, our 3D Map template is a one-stop shop for all your geographic visualization needs. To learn more about this template, watch our webinar – and make sure to share your creations on social media using the hashtag #madewithflourish!