Drive engagement: a guide to transforming charts with filters
Unveil the hidden layers of your data by integrating interactive filters into your Flourish visualizations
Looking for ways to engage your users? Want to make them understand your data on a deeper level?
Add filters to your visualization and tailor it to your audience’s specific context and needs.
Filters are dynamic tools in data visualization that let users refine and organize data based on specific criteria. They help manage complex datasets by allowing them to focus on relevant information that matches their queries or interests.
In Flourish, you can easily add filters to a variety of templates.
When to use filters
For an improved user experience
Filters enhance the user experience by providing control over the data presentation, allowing users to navigate and interact with the visualization effectively.
Adding a filter means a user can explore the chart further and find the insights that are most relevant to them. In the chart below, the default view is the excess mortality in the European Union. Users can get customized insights by selecting their home country from the filter dropdown.
Targeted analysis
Users can isolate specific subsets of data for closer examination, making it easier to identify trends, outliers, or patterns that may be obscured in a more comprehensive dataset.
In the chart below, detailed trends can be difficult to spot in the broader view of the data. Providing the option to zoom in on shorter time frames can make trends and changes clearer.
Similarly, you can add a time slider to a line chart to show how the shape of a line has changed between days, months, or years. Here’s an example inspired by the FT’s Alan Smith: a playable line chart showing the yield curve for UK bonds over the last 8 years.
Comparative views
Filters allow you to compare different data segments side by side, which is ideal for comparative analysis.
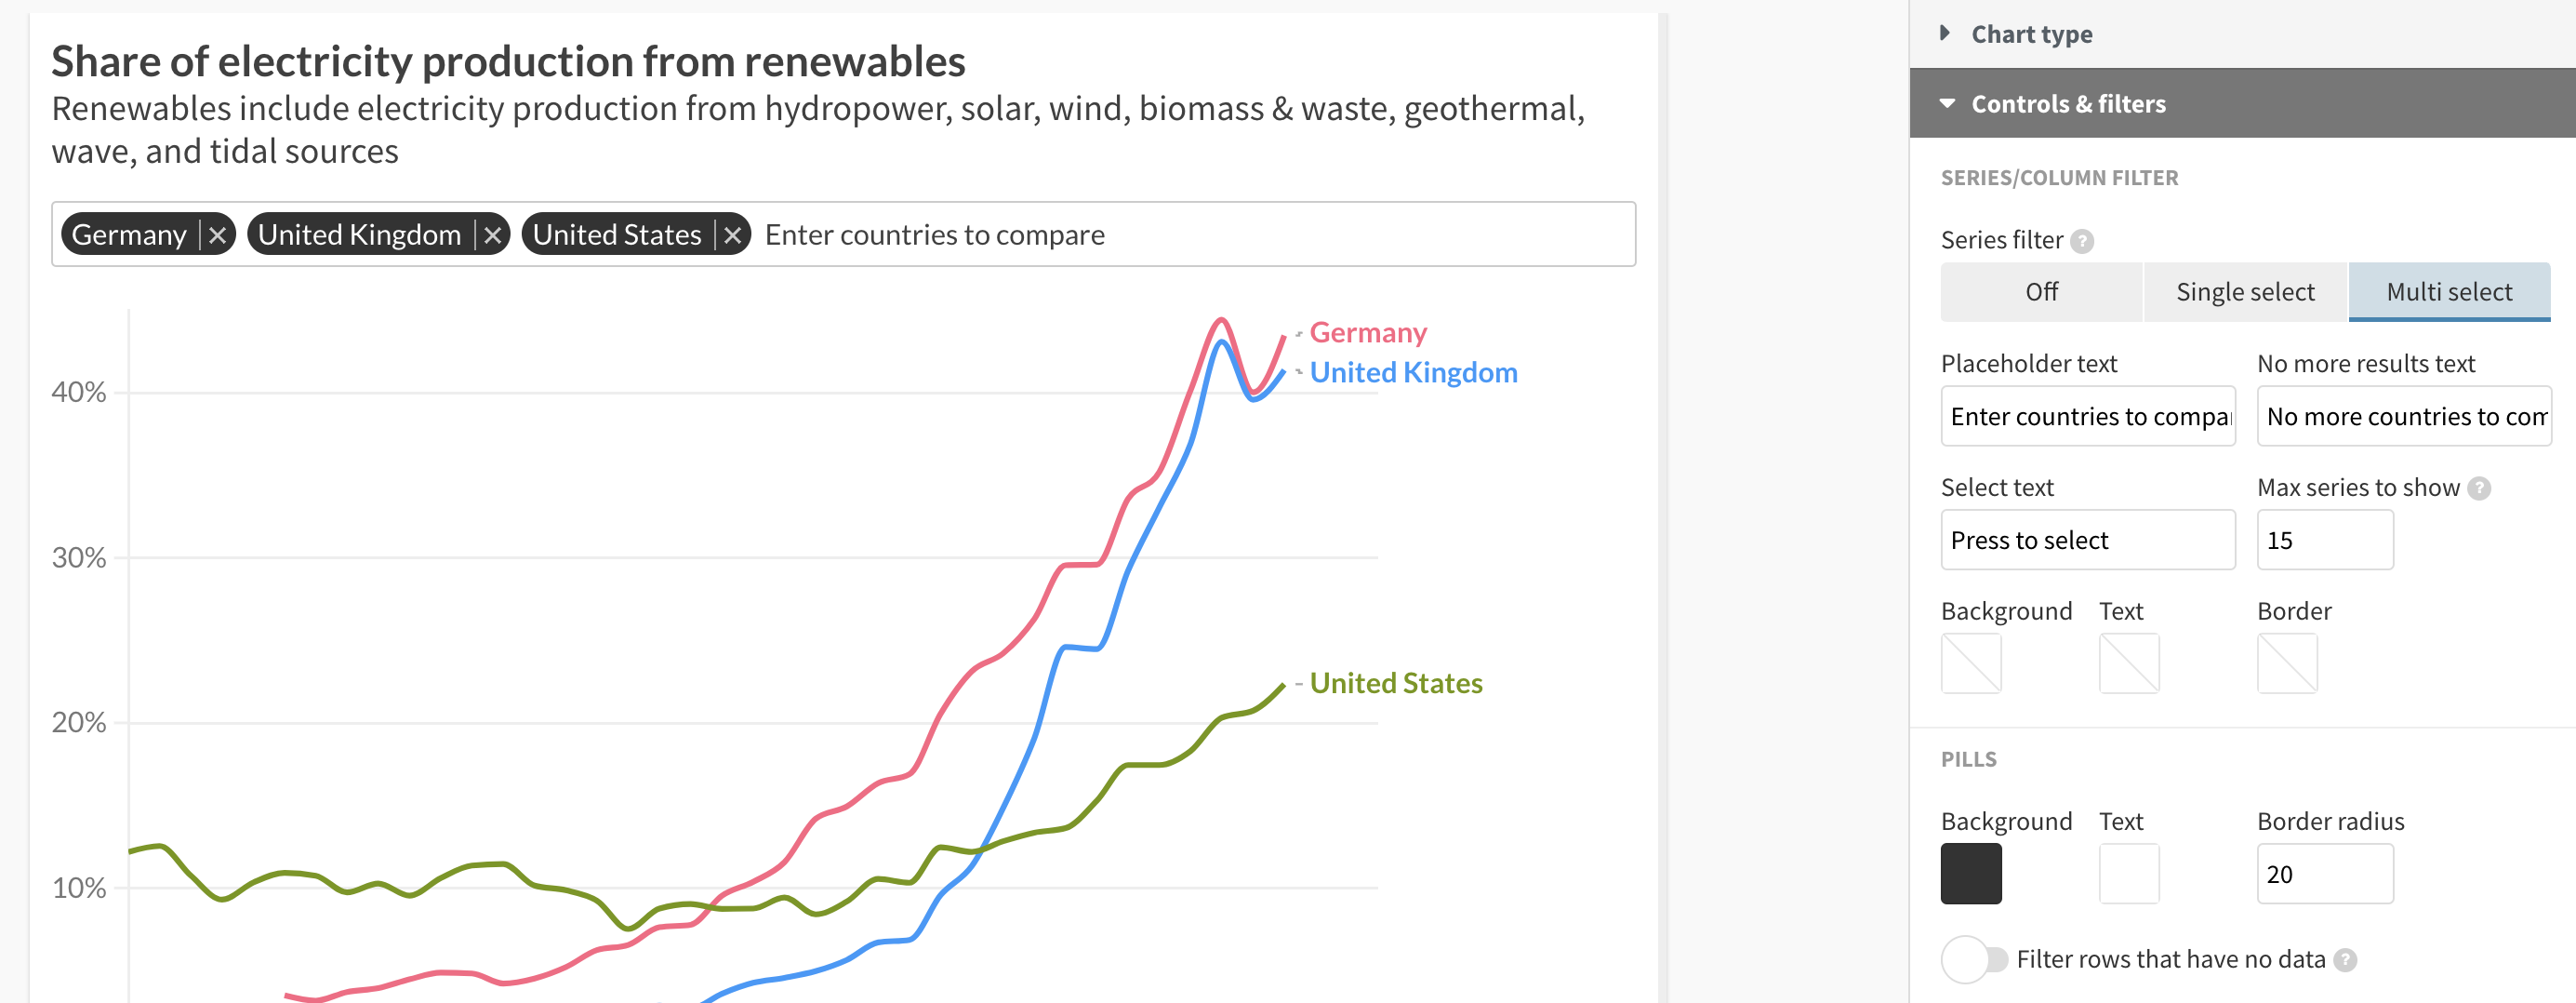
Comparing trends across various countries is made easy. And again, you can offer the user the opportunity to add the countries they are most interested in.
When you want to let your audience explore your data
Adding inline menus, buttons or sliders to your visualizations can be great for letting your viewers explore a rich dataset.
Filters encourage users to explore the data by interacting with it, which can lead to discovering insights that were not immediately obvious.
Filters also allow stakeholders to generate customized reports based on parameters like time periods, geographies, demographics, or any other variable relevant to the dataset.
Combine insights in one chart
Add filters for different metrics to explore various aspects of a topic more deeply.
By taking a closer look at different aspects and measurements, you can reveal insightful details and nuances that might not be immediately obvious. This approach allows you and your users to explore the topic from multiple angles.
Tip: In Flourish, combine row and series filter with the Grid layout in the Line, Bar, Pie template to show and filter by up to three metrics.
Equally, it’s useful to show opposite ends of the spectrum in one chart, for example for the ten best and worst countries.
Filters in Flourish stories
Controls are also handy for Flourish stories: just click a filter or drag a time slider to capture a particular view of your data in a slide. You can also guide your viewers through a few selected metrics before giving them the opportunity to explore the data further.
You can also create a GIF-like effect with autoplaying storys.
Three types of filters in Flourish
- (Row) filter: The most common filter in Flourish. Go to your datatab in the editor to assign a column to the Filter binding.

- Series filter: An additional filter in the Line, Bar, Pie template. To add a series filter, make sure you have multiple value columns selected and then switch on the filter in the “Controls & filters” settings panel.

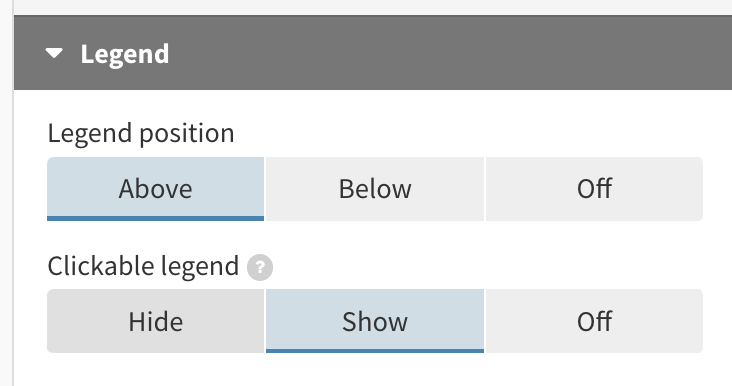
- Legend filter: When you have a visualization containing a legend, you can enable filtering the chart by clicking on the legend.

Tips and tricks
- Animation with filtering can work in different ways, so if you aren’t getting the effect you expect, experiment with the settings under Animations. These determine whether the template should, for example, attempt to animate across columns or rows. In many cases you’ll want the previous bars or lines to morph into the new ones, but in other cases not. You can also adapt the animation speed.
- In some cases you may want to reduce the colour palette to a single colour (and turn off “Auto extend”) to avoid the data changing colour as you play through time.
- You can set the speed of the auto-play on a time slider under the Advanced settings for the control in question. But if you speed this up, make sure you also speed up the overall update animation for the chart, to avoid the time slider moving on before the current animation has finished.
Happy filtering!
