Organize, centralize, and collaborate with shared folders 🗂
The new folder system brings a level of simplicity and collaboration to managing your team’s projects
With every new visualization and project you create, there is a growing need to keep everything neatly organized and easy to share. This is why we’re thrilled to introduce shared folders, the latest addition to our collaboration tools.
Shared folders help you organize, centralize, and share projects effortlessly within your organization. Whether you work independently or as part of a team, this is the perfect way to streamline your creative process while maintaining the privacy and security of your projects.
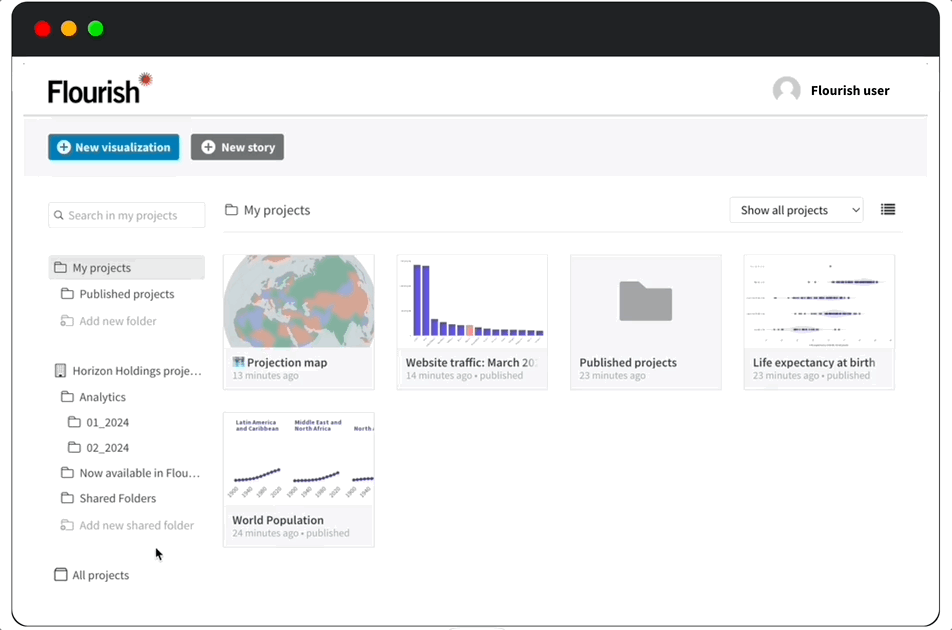
Every Flourish user has private and nested folders, meaning you can create subfolders.
To have access to our new shared folders feature, however, you need to be part of a company in Flourish.
Unlock team collaboration
Shared folders bring your team’s coordination to a new level. Whether you’re in a fast-paced newsroom or managing various tasks as a business professional, this function enables seamless access, editing, and collaboration on visualizations.
1. Collaborate on a current topic
Group all visualizations related to a project you’re working on with your team in one place.
This unified and accessible platform allows members to access, edit, and collaborate on visualizations.
Want to share a link to the shared folder? No problem – just copy the URL and any member of your time will be able to access it.
2. Organize past projects
Shared folders also provide a systematic way to store, organize, and categorize completed projects. Perfect for ensuring that your past projects are always within reach for reference or inspiration.
Let’s say you’ve worked on a project and have published multiple visualizations. All of these can be stored in a shared folder, meaning you can easily share resources and group visualizations in one convenient place. Even if the charts’ owner is suspended, your work will remain in the folder, ensuring continued access.
Manage who can edit your shared visualizations with our sharing permissions.
3. Create starting points for your team
You can also utilize shared folders to establish templates and starting points for your team.
If you have a particular style for a line chart that you frequently use and want others to adopt, create the chart as an example and place it in a shared folder for easy access.
Using sharing permissions, you can “lock” a visualization in a shared folder – making sure no one apart from you can edit it. This way, team members can duplicate the starting point, update the data, and be ready to publish while maintaining the correct style.
Getting started with shared folders
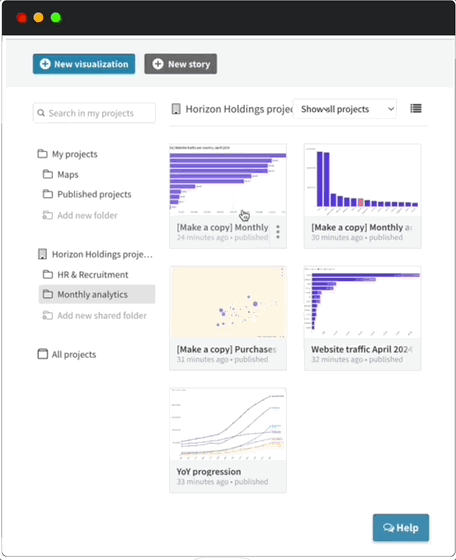
On your project homepage, you’ll see that your folders sidebar is split into two: one section is for your private folders, and the other one is for shared folders within your company.
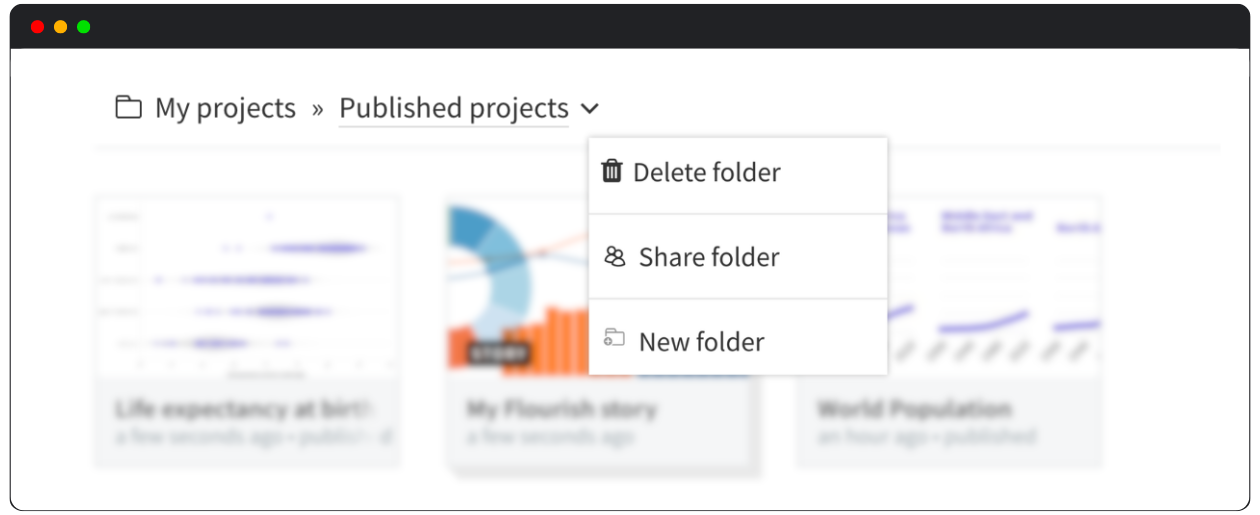
To create a folder, simply decide where you want to add it and either select “Add new folder” or “Add new shared folder” and type in a name. You can always edit the name later in the folder’s crumb trail.
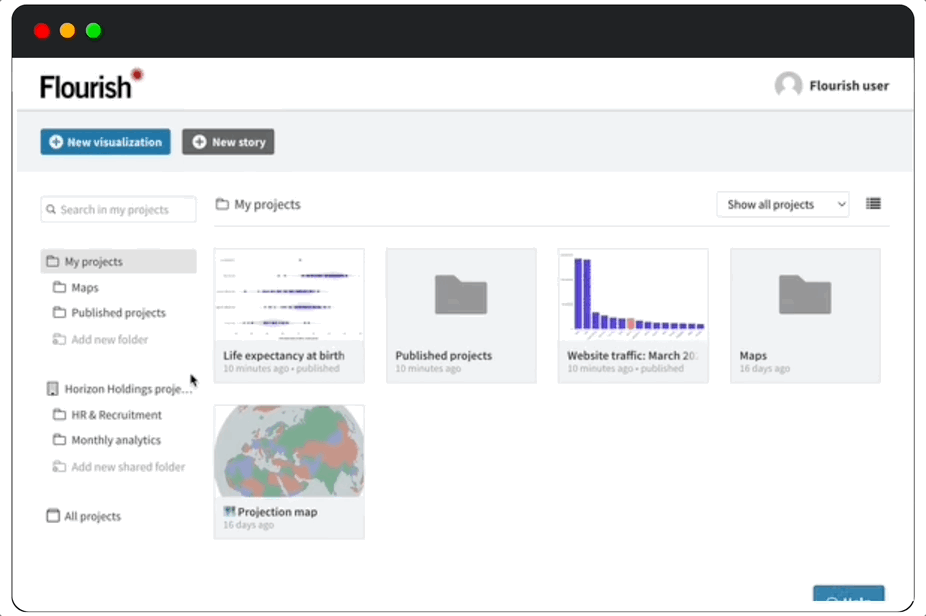
Any folder you create under “My projects” is private by default, ensuring your individual work remains confidential.
Meanwhile, folders you create in the “[Organization] Projects” section will be automatically shared with your organization, facilitating easy access and collaboration. Every new folder created in this section will be shared by default.
You can also navigate to any of your private folders and share them with your organization by selecting “Share folder” in the dropdown.
Read our help doc to learn more.
Tips and tricks
- You can create a new project directly inside a particular folder. Just open the folder and choose “New visualization” or “New story”.
- You can also drag and drop a project into a folder. Removing a project from a folder works in the same way: simply drag it out of the folder onto “My projects”. This is only possible for visualizations you have created.
- You can nest multiple folders inside each other for better management and organization of complex projects and your work.
- When a project is inside a folder, a link to the folder will be displayed beneath the project title in the editor.
- Clicking on a folder changes the page URL, which means you can bookmark specific folders in your browser for quick access.
Folders and sharing
Your own folder structure, so anything under “My projects”, is private to your Flourish account and can’t be seen by colleagues. Putting projects into a folder doesn’t restrict your teammates from accessing those projects in the usual ways – for example when you share the editor URL of a visualization.
Happy organizing!